One of my relatives came to me with a very old dresser that was on its last
legs and had been missing a top for the longest time. The following pictures
detail the effort to restore it to a piece of furniture worthy of their
daughter's bedroom.
|
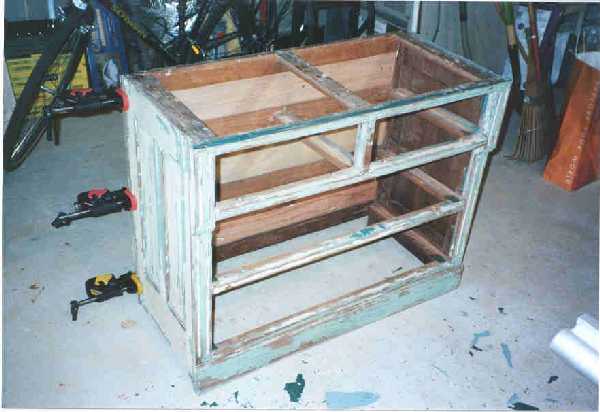
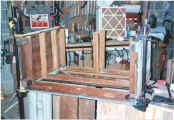
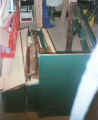 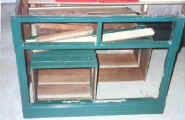 These two pictures provide a good idea of what I had to work with to start.
Not much was still together. These two pictures provide a good idea of what I had to work with to start.
Not much was still together.
|
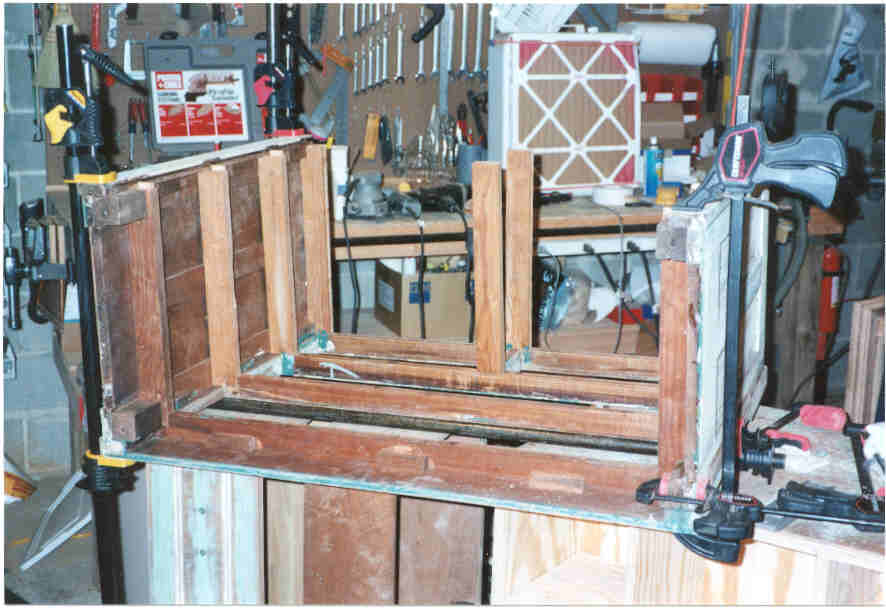
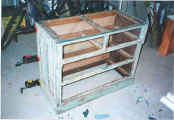
The first step was to address the structural problems; repairing broken
pieces, cleaning up the joints and gluing the carcass back together, beginning with the sides, and
finishing up with the back. Along the way I stripped off most of the
layers of paint with a safe stripper that worked really well. By the way, those
Power Press pipe clamps are great! I highly recommend them, and they're
available at Sears at a good price.
|
  |
|
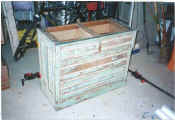 The drawers were repaired next. The drawers were repaired next.
|
|
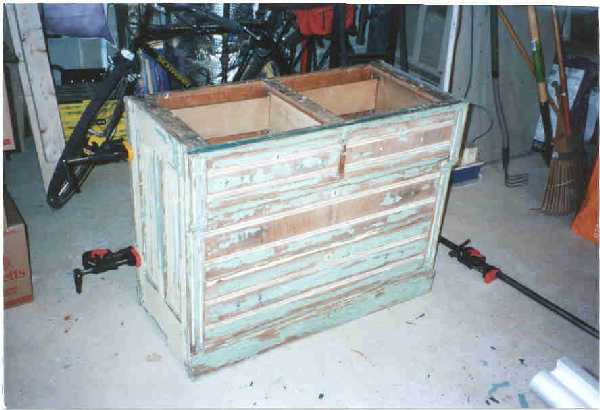
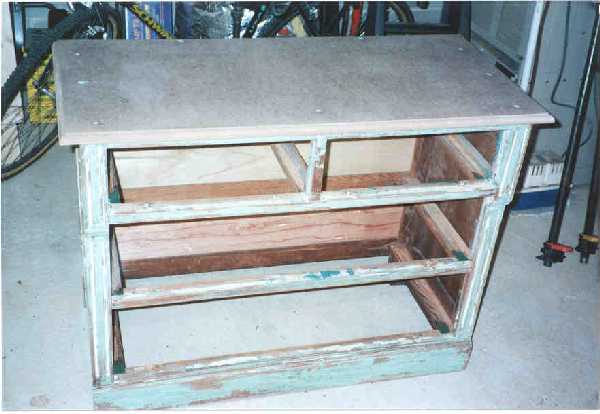
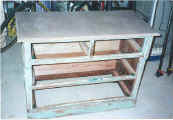 Next up, a top. No one seems to know what happened with the original, however
a loose slate top was working as a substitute prior to the new MDF top I added.
MDF worked well as it is dead flat, takes paint well, and was pretty easy to
rout as I wanted to add a decorative bull nose edge. Next up, a top. No one seems to know what happened with the original, however
a loose slate top was working as a substitute prior to the new MDF top I added.
MDF worked well as it is dead flat, takes paint well, and was pretty easy to
rout as I wanted to add a decorative bull nose edge.
|
|
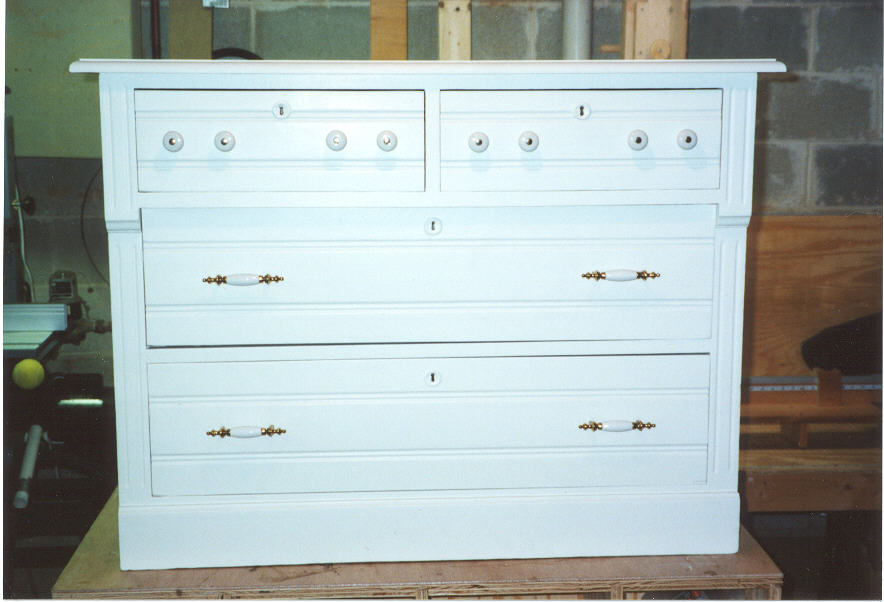
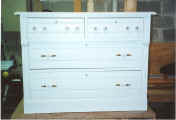 Once I put fresh paint and hardware on, it began looking like a dresser that
would be a compliment to any room. The hardware for the top drawers is original,
so I was pleased that I was able to find a perfect match for the hardware
on the lower drawers. Once I put fresh paint and hardware on, it began looking like a dresser that
would be a compliment to any room. The hardware for the top drawers is original,
so I was pleased that I was able to find a perfect match for the hardware
on the lower drawers.
|
|
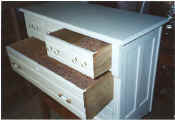
The last picture shows the cedar that was used for the drawer bottoms.
Although T&G aromatic cedar would have been preferred, the budget didn't
allow for it.
|